Thursday, March 28, 2013

Beef Noodles

My freezer is getting bare so I gathered what was in there and made my weekly menu.  On Monday, I decided to use 2 packages of beef that looked pretty close to freezer burn destruction and make Beef Noodles.
I put the 2 packages of beef into the crock pot covered them with water, added a few tablespoons of Worcestershire sauce and some seasoning salt.  I cooked it on low for about 9 hours and then shredded the beef.
Using the cooking liquid, I added a bit more water and then put in some wide noodles I had.
After another hour on high, it was all done.  The noodles had a great texture and it was delicious for dinner and as leftovers the next day.


Tuesday, March 19, 2013

Easy DIY Modern Art

My sister is the artist in the family.  She is so talented and even went to college for art.  In short, she is amazing and I would love to have half of the talent she does for art.  That being said, I am pretty damn proud of this project.


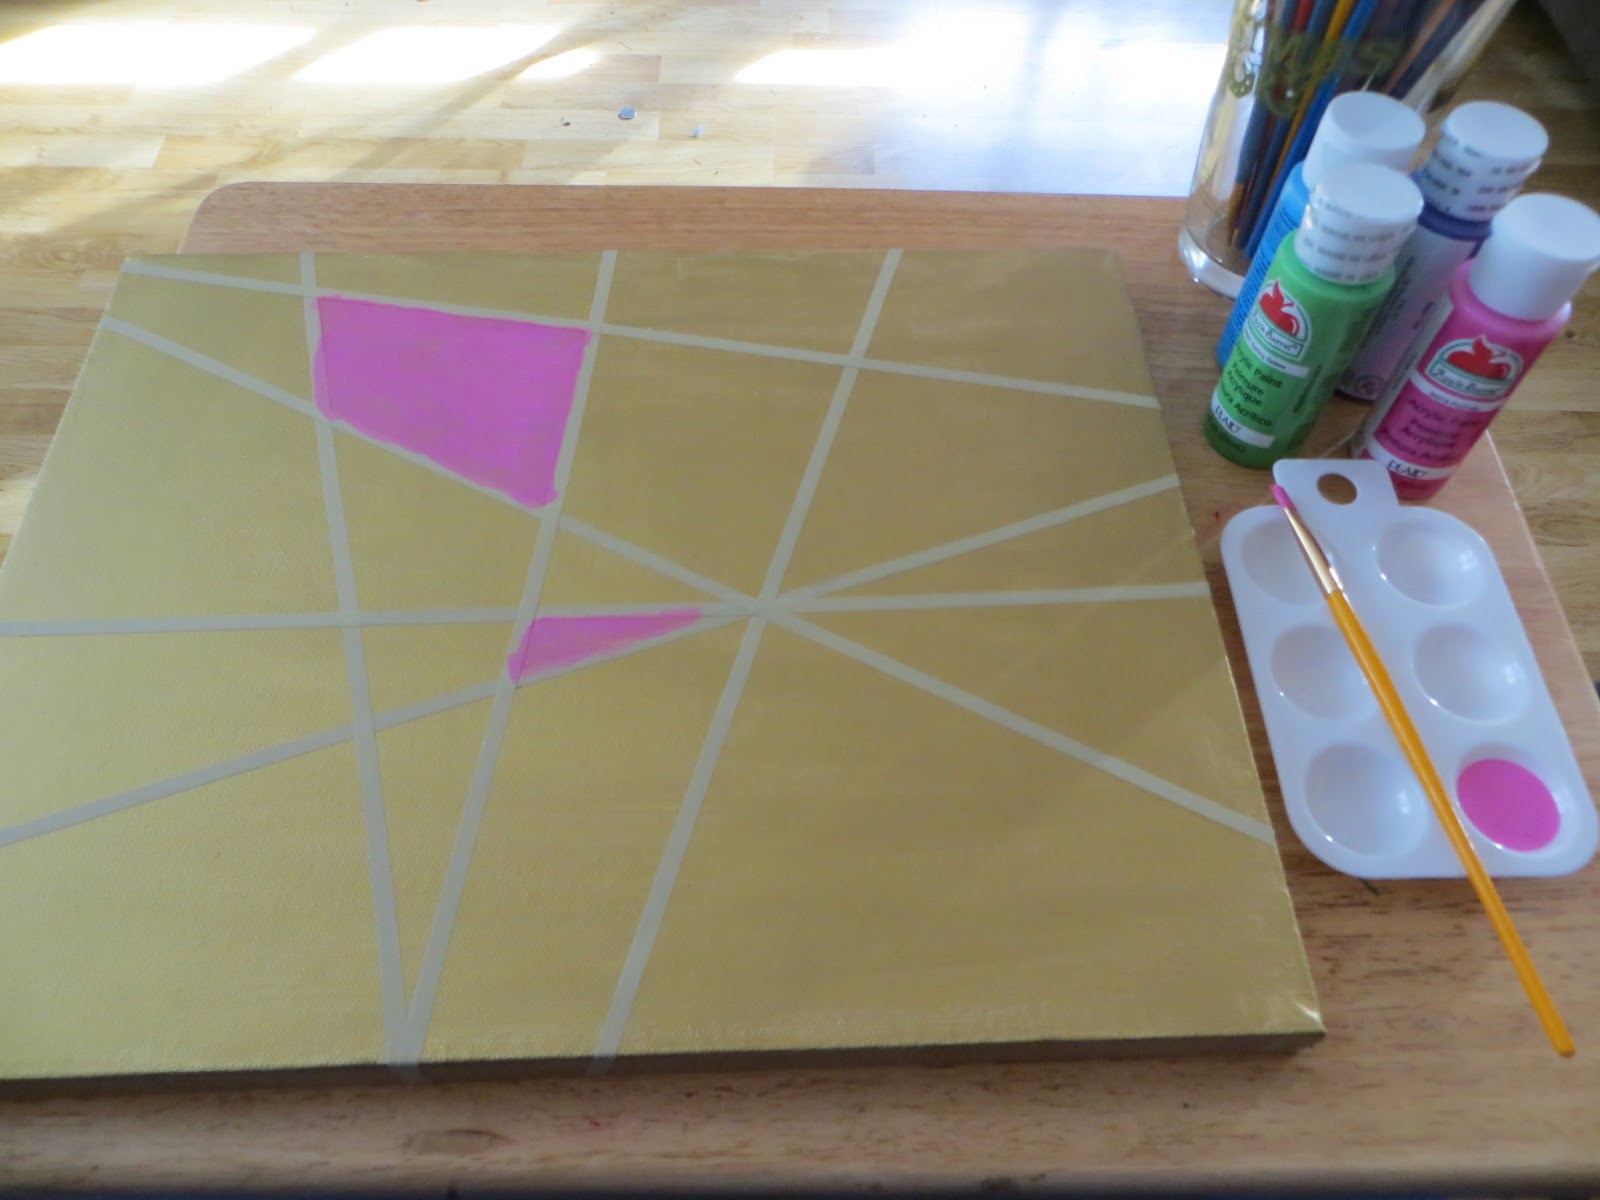
It's simple but beautiful.  Start with any size canvas and paint it in a base color.  I chose gold.  I let it dry overnight and then take some thin pin striping tape, masking tape, painting tape or whatever will not tear off your base coat and randomly made a pattern.


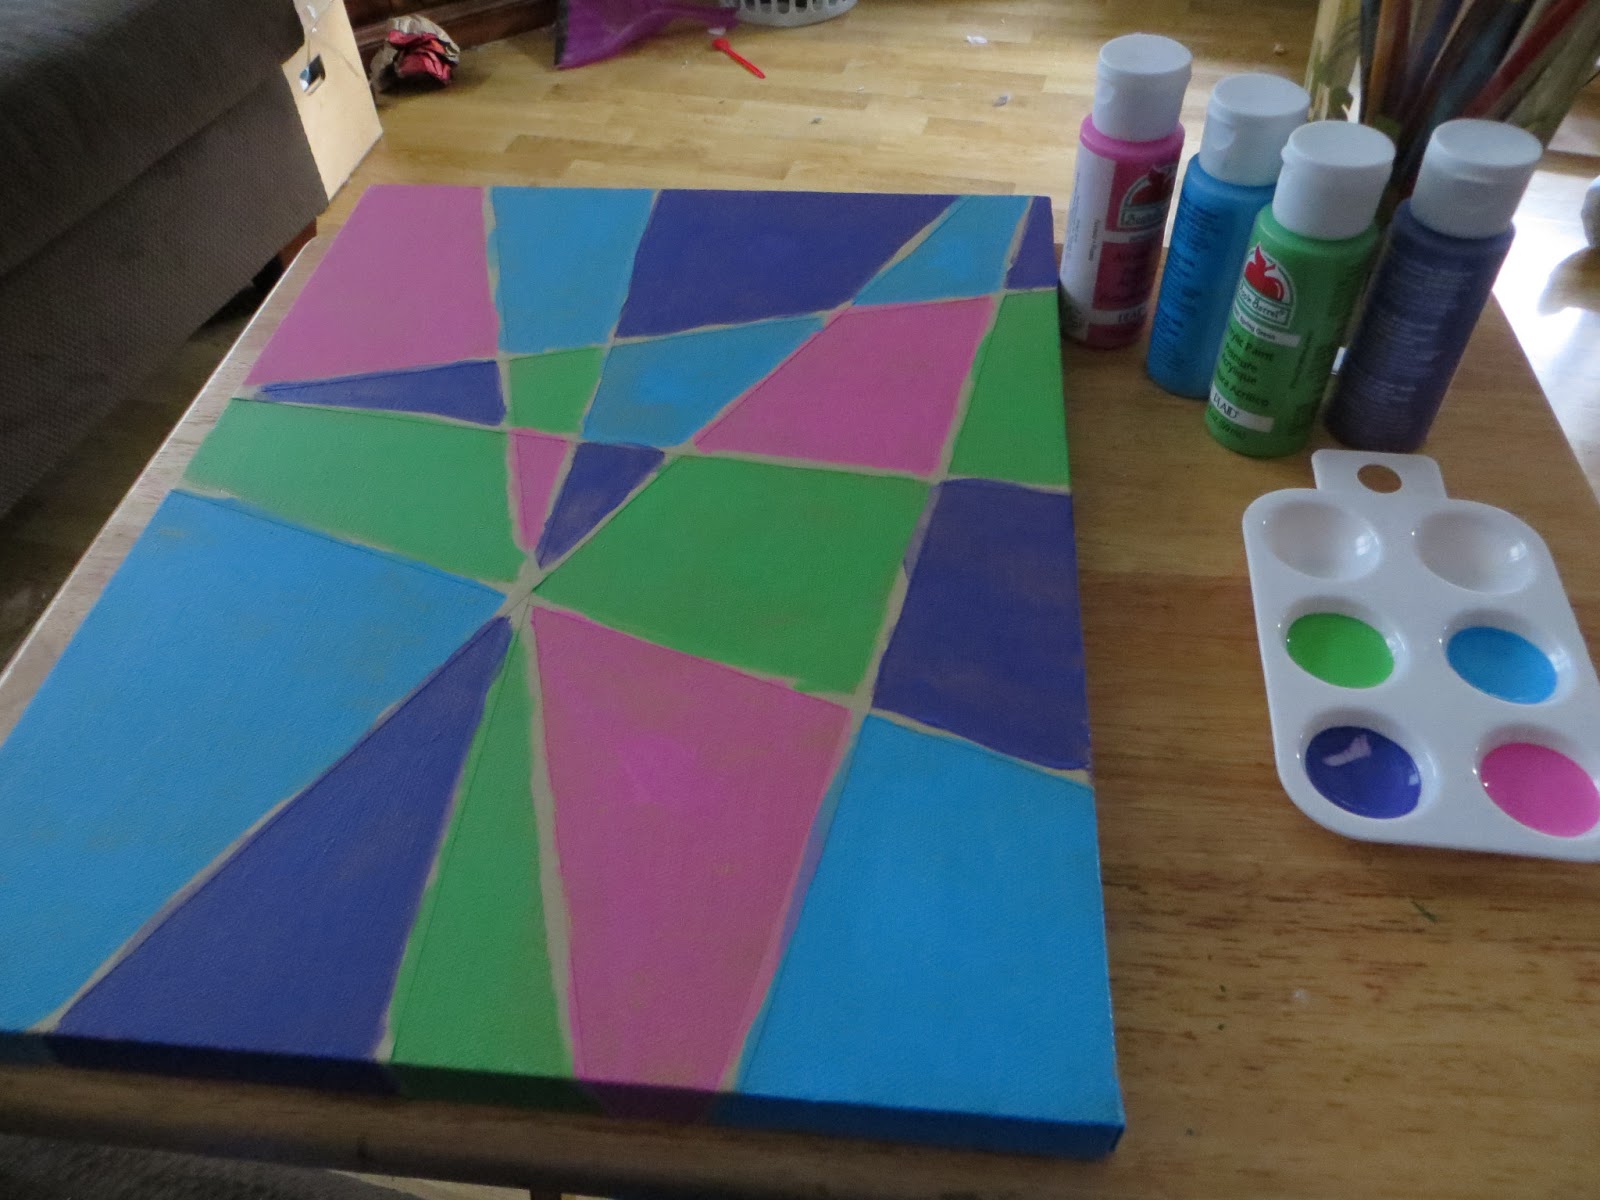
Paint away!  There are no rules.  I used 4 different paint colors but you could use 1 or 10, it doesn't matter.


After it dries, take off the tape carefully and viola, you have modern art!  The tape I used, tore a little bit of paint off so I just touched it up with some gold.

Saturday, March 16, 2013

Baked Zucchini Fries

If you know my husband, you know he is not a veggie eater.  When I met him, all he would eat was canned green beans and canned corn.  I am happy to say I have expanded him a little bit but I try new things all the time.  He's ok with stir-fried zucchini so I decided to give Baked Zucchini Fries a try.  I am happy to say he really enjoyed them.


Baked Zucchini Fries
3 zucchinis
1/2 cup flour
3 tsps Johnny's Seasoning
3 eggs
1-1/2 cups panko bread crumbs
1/2 cup Parmesan cheese


Cut the zucchini into fry sticks and put in a gallon sized zip top bag with the flour and 1-1/2 tsps of Johnny's Seasoning.

Beat the 3 eggs in a shallow container and mix the breadcrumbs, Parmesan and the remaining Johnny's in a second container.


Dredge the floured zucchini sticks in the egg and then the bread crumb mixture.  Place them on a parchment lined baking sheet.  Bake at 425 degrees for 24-28 minutes, flipping the fries half way through the cooking time.

Monday, March 4, 2013

Blocked

I'm having Blogger's Block.

I have plenty of crafty ideas and creative recipes I want to try but I am finding it hard to get the motivation to do any of them.

I haven't had my sewing machine out since Christmas.

I think maybe, it is this time of year.  Winter always gets me down.  The days are shorter, I find myself wanting to go to bed at 7pm and I can't go outside to do the big projects I want done.

However, my house is cleaner than normal so I guess that is a positive.

Wednesday, February 20, 2013

Creamy Chicken Taquitos

I have been on a real Mexican food kick this last week.  I made Enchilada Lasagna a few nights ago and it was so delicious.  I will share that recipe when I make it again next week.  Last night I made Beer Butt Chickens which always leave us with leftovers.  This was the prefect opportunity to make Creamy Chicken Taquitos.


Creamy Chicken Taquitos
4 cups chopped, cooked chicken
8oz cream cheese, softened
1/2 cup salsa
1/2 cup sour cream
1 cup shredded Mexican cheese
20 tortillas (corn or flour)


Mix all the ingredients, except tortillas, in a bowl until completely combined.  Soften the tortillas in the microwave for a minute or so.  Then, place about 2 tablespoons of the mixture on the tortilla and roll up.  Arrange rolled taquitos on a parchment lined sheet pan with space in between and spray with cooking spray.  Finally sprinkle a bit of salt over the top and bake at 400 for 15 minutes.

My dipping sauce was simply some salsa, sour cream and an avocado.

Friday, February 8, 2013

Polka Dot Hello Kitty & TMNT Cakes

My sister and I have done numerous wedding cakes, birthday cakes and cupcakes.  We don't do it for money, we have never charged anyone, we just do it for fun and because we love the people we do it for.  My favorite project we had previously done was for a friend's fall/country themed wedding.
 It was a lot of work but I just loved the look.  My dad and sister even made the cake stand.  Last week, we had the pleasure of making cakes and cupcakes for two special 7 year old's birthday party.  They had distinct themes.  Kylee wanted Hello Kitty and Hunter was all about the Teenage Mutant Ninja Turtles.  I saw a polka dot cake on Pinterest a few months back and had been waiting for the perfect opportunity to try the technique.  I figured Hello Kitty was it.
 I started with a white cake mix and separated part of it into 4 bowls.  Then I used neon food coloring to dye each one.  I scooped the mix into my cake pop pan and baked them.
I then poured some cake mix in the bottom of the cake pan, placed the dots in position and then poured the rest of the cake mix over the top.
Here is what the cake looked like after we decorated it with marshmallow fondant.
Here is what it looked like after they cut it.
 And here are the cupcakes.
Here is the TMNT cake.
And the cupcakes.  The pizza was my idea!


Saturday, February 2, 2013

Valentine Necklace or Garland

I saw this cute idea here and wanted to try it for the upcoming Valentine holiday.
Cut two strips of felt 6 inches wide and 12 inches long.
Pin the two pieces together and sew along one of the long sides.
Flip the fabric backward into a heart shape (like above) and pin together.
Then sew that long end together.
Mark every 3/4 of an inch and cut all the way through.
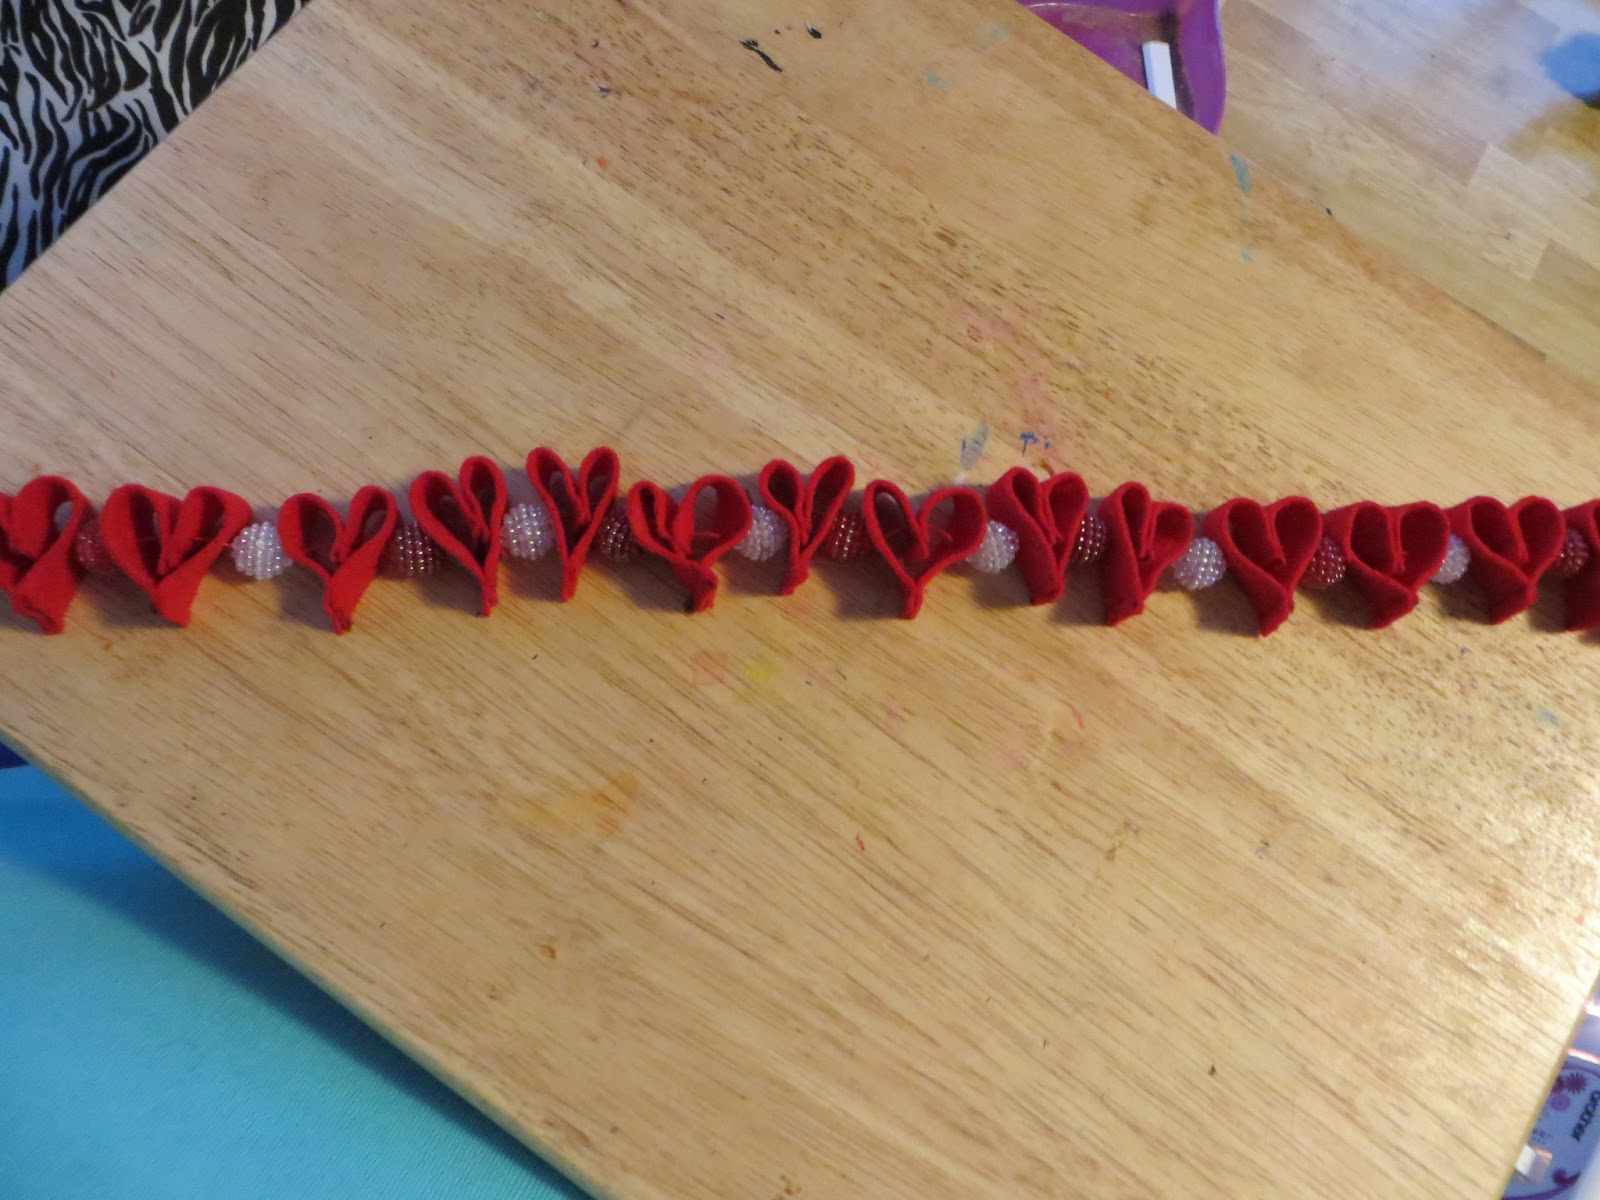
You should end up with 16 of these cute little heart shapes.
Take thread or string, tie a knot in the end and thread on a felt heart.
Place a bead or spacer of your choice.between each heart and continue until you run out of hearts.
I though this was a little small so I am going to wear it as a necklace.
 I had some foam paper in a gorgeous pink color and cut it in 2 strips of 8 inches by 11-1/4 inches. and followed the same instructions.
It was a bit hard to get through the machine but I think it turned out beautiful.