Monday, December 17, 2012

Baking Bonanza

Every year around Christmas, my Mom, sisters Kari and Brenda and I like to get together and have a Girl's Baking day.  This last Sunday we did just that and invited our friend Shamara over to help.  My Grandma even stopped by for a bit.  It was a such a fun day and we got through 10 recipes in just a few hours.  It took some planning but it all worked out.

We made two flavors of Fudge.  The first is a traditional chocolate and the second is a peppermint.  We followed this recipe from Nestle for both except in the peppermint one, we substituted mint chips and peppermint extract.
We also made Magic Bars using the recipe on the back of the Eagle Brand Sweetened Condensed Milk.
My favorites were these Holly Crackles.
These are my husband's favorite.  Peanut Butter Cup Cookies.
These Oreo Pudding Chocolate Chip Cookies sound strange but they are so delicious.
We had to make another batch of these awesome Rolo Turtles.
These Haystack cookies were requested by my sister Brenda.  The recipe is super simple.  Just melt 3/4 cup peanut butter and one bag of chocolate or butterscotch chips in a saucepan.  When melted, add a 10 oz bag of chow mein noodles.  Stir until full coated and then drop by spoonfuls onto parchment paper.  Let set up for at least an hour and then enjoy the crunchy goodness.
Finally, a family favorite, Cowboy Cookies.  I will share the recipe for these at a later time.  They come from a cookbook my Mom helped put together when I was in 3rd or 4th grade at my Elementary school.  Lots of great memorable recipes in there.

Tuesday, December 11, 2012

Quick Christmas Craft Round-Up

To combat what was becoming a rather annoying Facebook game habit, I have taken up this blog. It gets me crafting and into the kitchen. It also keeps the guys at work happy when I bring in a baking project. This Christmas, I have been extra crafty and have been very "Pinspired". I thought I would share some of the crafts I have been doing these past few weeks.

These are gift tag/ornaments I made.  The Inspiration is here.

I loved how easy these recycled magazine bows were to make.  Inspiration here.

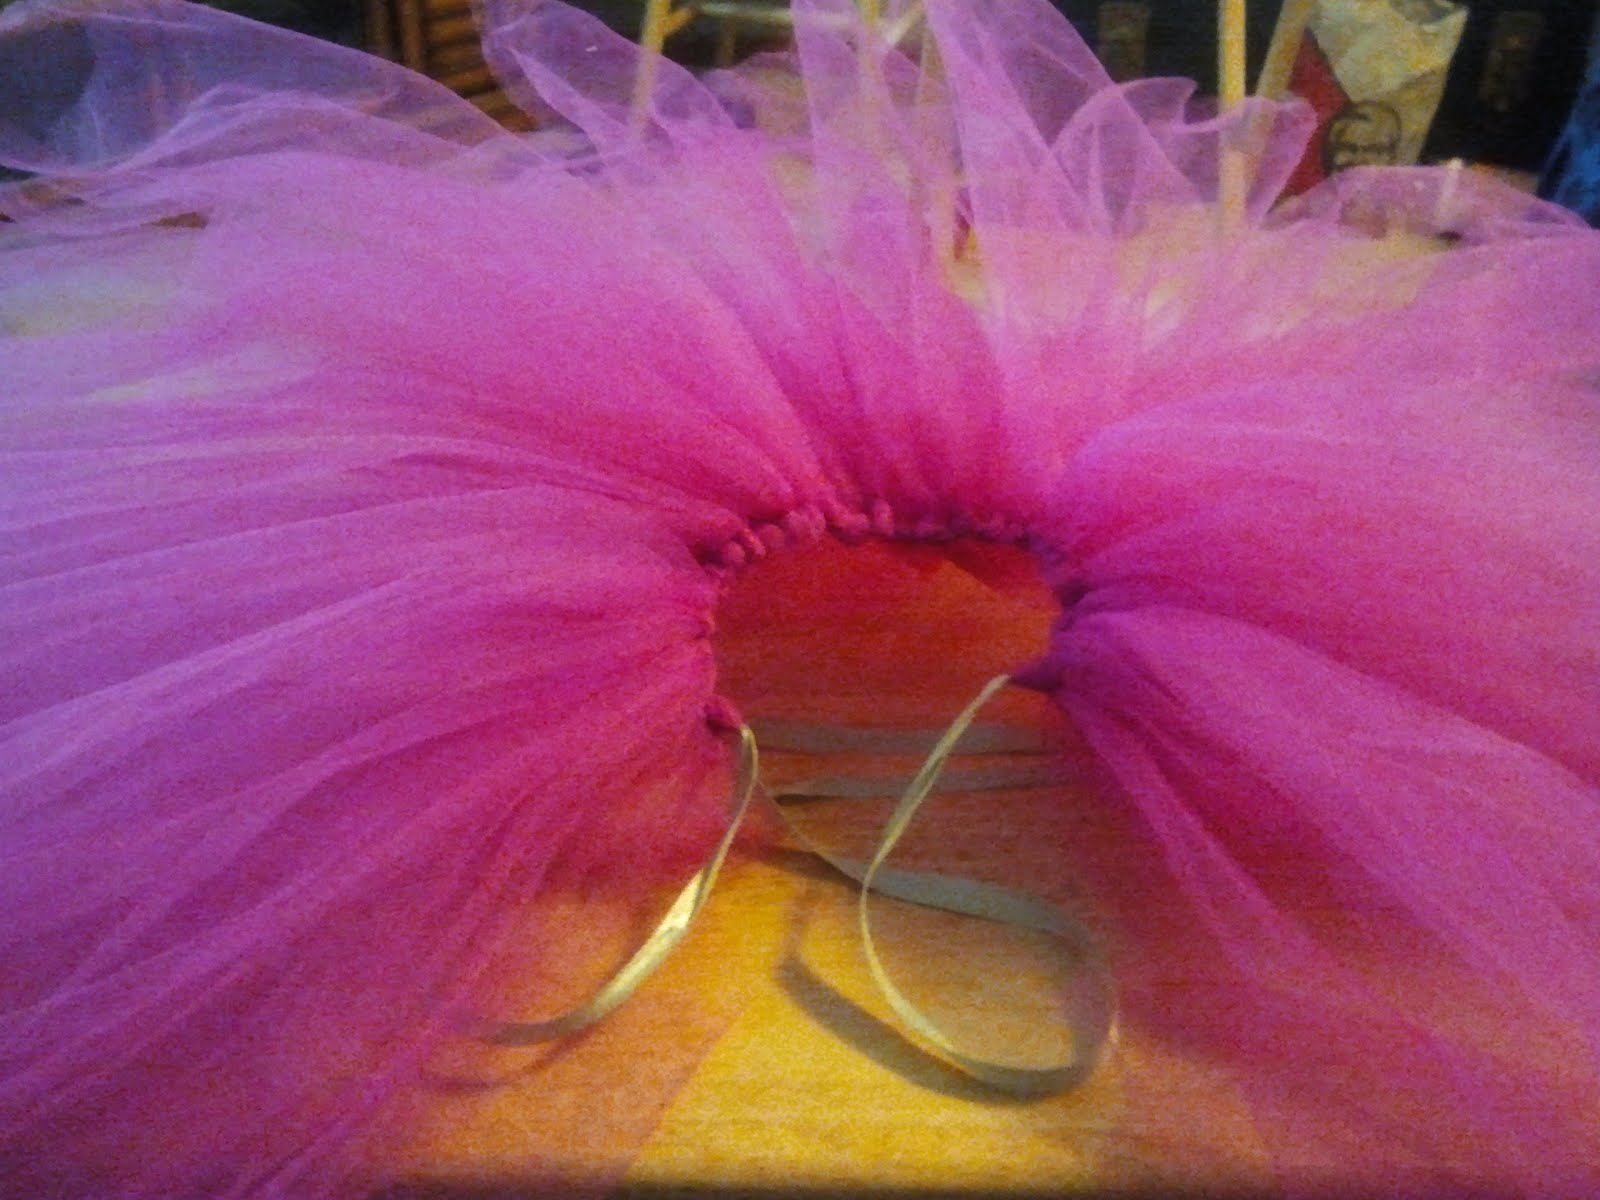
An adult size Tutu.  Inspiration here.

Something I put together and put up at work.  The guys love to come in and "Jingle My Bells".

When I first saw this, I knew I had to make it.

And finally, I made this garland but didn't take a photo of it so here is one of the snowmen.


Friday, November 30, 2012

Dollar Store Wreath

I love cheap, cute Christmas crafts.  It's the 4 Cs.  I bought 12 tubes of 12 ornaments each at the dollar store.  Along with 2 coat hangers and some ribbon, I turned them into 2 wreaths.  

 I turned this basket of ornaments into this...
The task was simple.  I took the ornaments out of the package and glued the tops to the ornaments, just so they would stay.  Next, I shaped my hanger into a circle, then untwisted the top.  I began threading ornaments on, one at a time, letting them bunch up until I had filled the entire circle.  I re-twisted the top and tied a bow and viola!  For around $6 and an hour or so of time, you have a wreath.  I've made 3 of them so far.  They are so simple to do as you watch TV.
 

Wednesday, November 28, 2012

Rolo Turtles

One of my favorite things to buy after a holiday on clearance, is a box of Turtles.  I have been seeing these Rolo Turtles all over Pinterest lately so I decided I had to make them.  I went to the Safeway to buy some of my baking supplies with my groceries and my regular checker asked me what I was up to because there was a bunch of "weird stuff" in my order.  I guess I go there a lot. :)


Rolo Turtles

Pretzels (I used the square ones)
Rolos
Pecans
Place the pretzels on a baking sheet, with space in between.  Then place a Rolo on each pretzel.

Put the pan in the oven at 350 for 4-5 minutes.  The candy will look shiny but not be melted.  Press a pecan into each Rolo.  Be careful not to push too hard and work fast.

Wednesday, November 21, 2012

Homemade Cocoa Mix

A few years ago, I was an avid Food Network fan.  I was on that channel all the time.  Now, Cooking Channel peaks my interest more often but still, most things on there, let's be honest, I will never make.  You get more than 5 ingredients and my eyes glaze over.  Anyway, one show that I will watch over and over again is Good Eats.  The other day, there was a Chocolate episode on and he made his own Cocoa mix.  I thought it would make great Christmas gifts so I gave it a try.


Homemade Cocoa Mix
2 1/2 cups Powdered Milk
2 cups Powdered Sugar
1 cup Cocoa Powder
2 tsp Corn Starch
1 tsp salt
1 tsp Cayenne Pepper
Mix thoroughly and store in an air tight container.  Will keep for up to 2 years.
To Make Cocoa, put about 3 tbsp of mix in a cup and pour boiling water over to fill the cup about half way.  Mix well and then fill the cup the rest of the way and enjoy.

My first batch, I made according to the recipe above.  The cayenne added a kick but my husband hated it.  My next batch was made without it and we both preferred it.  (A little cayenne goes a LONG way so be careful.)  I have even added the cocoa mix to my coffee and it made a great mocha.  Give this a try, you won't be sorry. 

Wednesday, November 14, 2012

The 12 dates of Christmas

I don't know about you but around the holidays, our schedule gets so busy and hectic that we kinda forget to enjoy it.  I was cruising Pinterest, as I do daily, and came across a post for "The 12 Dates of Christmas".  I thought it was a great idea and came up with my own list.  We will start right after Thanksgiving.


When I introduced this to my husband, he wasn't too keen on the idea but he agreed to give it a try.  We shall see how many dates we actually get through.  Most of the "dates" are things that need to be done anyway, but I usually do them alone.  I am just hoping to get some quality time together, which is what is important anyway right?

Wednesday, November 7, 2012

Melted Crayon Art

Been meaning to do this project for a while.  Here are my supplies:
Glue Gun & Sticks
Crayons
Carboard
Canvas
Wax Paper
Hair Dryer

Glue crayons in a row on the piece of carboard.

Set up a booth of sorts with wax paper.  The crayons will splatter so cover more area than you think you will need.

Point the Hair Dryer at the crayons as close as you can get without touching them and just let them melt until you get the desired look.