Showing posts with label Easy. Show all posts

Thursday, August 27, 2015

Fall Decor - Fabric Pumpkins


These Fabric Pumpkins were the second project we completed on our epic crafting day.  Check them out and see if you want to make them yourselves or if you just want to purchase one of these, go see Kari at the Cedarville Barn Autumn in the Country event in Oakville on Friday and Saturday September 25th and 26th from 10-5 or at the Country Chicks Harvest Fair at the Southwest Washington Fairgrounds on Friday and Saturday October 2nd (10-6) and 3rd (10-4).  Both of these events are really a great place to get inspiration and some really awesome handmade goods from talented people.  On to the craft...


I have to admit this is one of my favorite projects that we have done.  It was fun, quick and pretty easy.  We got our inspiration from here.  The best part for me was picking out the fabrics.  You can choose 1, 2 or 3 different fabrics.  You could do more but I think they look best with 6 sections.  No matter how many fabrics, you want your total overall size to be about 24" wide and no more than 12" tall.  These make a good size pumpkin.  Any taller and you will have some trouble with getting the long needle through.

Chose your coordinating fabrics and iron them out.  Measure your pieces on the reverse side and mark were you need to cut.  These pieces are 13 1/2" by 4".  Remember when I said no longer than 12"?  Seriously, no longer than that.  It was really difficult later.

Once your pieces are cut, match them up and sew the long sides together.   You will end up with all six pieces in one long sheet.  Now sew the ends together to form a cylinder shape.

Thread a needle and double the thread.  Tie off the thread and begin sewing one end of the cylinder closed using a running or basting stitch.  Basically just in one side and then in the other side.  At the end, pull the thread taut and tie off.  This will gather the fabric in a tight zig zag.  This is the bottom of the pumpkin.  Flip the fabric right side out and you should end up with a sack like shape. 
Stuff the sack with Poly-Fil or other soft fiber filler.  Take the same thread from before and do another running or basting stitch around the edge of the open side.  Unlike the bottom, this stitch runs around the rim and then pull it taut.  This will mostly close the other side, leaving you with a stuffed cylinder and small opening.

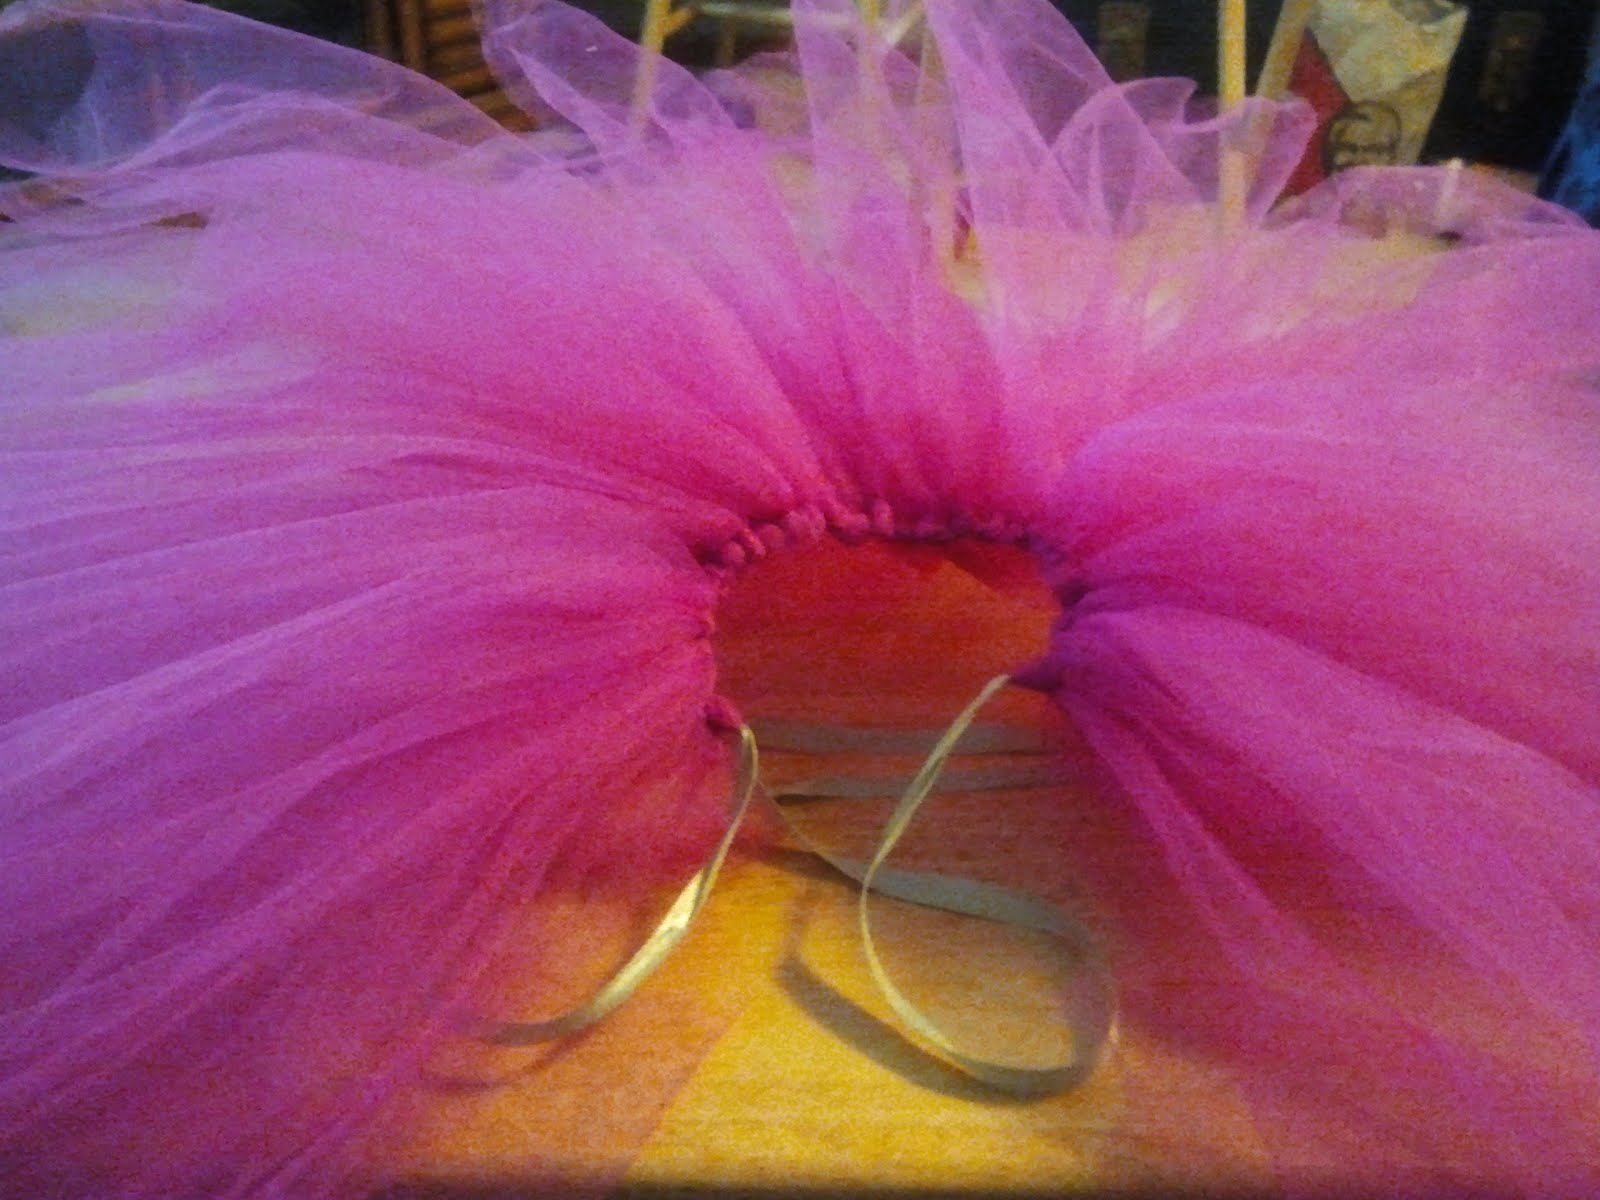
Take a long, slim needle (5" or so) and thread it with embroidery thread of a corresponding color.  Tie off the end and start in the center of the first side you sewed together, the bottom. Push it through and out the small opening in the top.  Go around the outside of the pumpkin, on a seam.  Continue this process for all 6 seams, pulling each tight, tufting the fabric.  Do not tie this off yet.

Use a small piece of felt, about 2 1/2" x 3 1/2".  Fold it in half and using the same black thread from before, use a whip stitch to close the top and open side.  Leave the bottom open.  You can turn the felt right side out or leave it with the stitching on the outside.  Next you will fill it with the Poly-Fil or other filling, then stitch the bottom closed.  Take the large needle and embroidery thread and attach the stem.  You will run it through the bottom and top a few times to secure it before tying it off.

 Here are some of the finished pumpkins.  As you can see, you can use many different fabrics, textures and sizes.  Variety is the spice of life, right?

 We both disliked this fabric with anything else but it works great on it's own.

 Pardon the multiple backgrounds.  I did some of these at Kari' house, a few in my bedroom and a few in my living room.  It's a great craft to do while watching tv. I love this green pumpkin.  The leaves and stem are precious.

 I got lucky and found this sequined fabric in the remnant bin at JoAnn's.  It looks fabulous.

You can see the different sizes and variations I used.  Did I mention I loved this craft?!?!?!

Wednesday, August 12, 2015

DIY Bleach Shirts

We are back folks!  I know I have sort of hijacked the blog.  It has been all weight loss and diabetes information for six months or so.  It has consumed my life too but now I am back into crafting, sewing and cooking.  As always, the blog will reflect what is going on our lives.

Kari and I made plans to meet up and get a few projects banged out in one day.  We had a very productive Saturday, even with her 3 boys there.  I honestly don't know how she does it.  They wear me out.  Her boys are almost 5, almost 2 and 1 month old.  Our first project is the one I am going to share today.
Isn't our model just so precious?!?

These DIY Bleach shirts were inspired by this pin.  The supplies are simple.


Bleach
Spray Bottle
T-Shirt (darker colors work better)
Cardboard
Stencil

 Start by placing the cardboard inside your shirt and make sure it is flat.  You can iron if you want but, umm, no.

Next, you want to lay out your stencil or design.  


We used vinyl cut on a Silhouette machine.


You just want to make sure it is straight and positioned where you want it.


Just spray a fine mist of the bleach from the squirt bottle.  We did 3 or 4 squirts and you can see it starts to change quickly.  Dab any pooling bleach with a paper towel


In just 2 or 3 minutes, you can remove the stencil and see the results.


After you remove the stencil, rinse the shirt thoroughly in cold water.


Hang the shirts to air dry.


After they dry for a bit, run the shirts through the washer and dryer on a normal cycle, just the shirts.

And Tah-Dah, there you have a simple, quick DIY shirt made from things you have in your house already.

Thursday, July 2, 2015

Weight Loss Journey: More Zaycon, Father's Day and Eating Mistakes

BACON


Yes, I just opened my weight loss blog with bacon.  I'm evil like that!  You've heard me talk numerous times about Zaycon and their products.  We recently split a box of bacon and a box of boneless skinless chicken breast with my Mom.  The bacon came in 12 - 3 lb packs and we paid $3.49/lb.  It is really fantastic bacon.  Our first package I thought was a little salty but the second package didn't seem that way.  The Boneless Skinless Chicken Breast we got for $1.69/lb, which is a phenomenal price.  If you'd like to order, here is our referral link: zayconfresh.com/refer/zf361074 .  You can go there and check out what they have in your area.  I promise, you won't be disappointed.

The chicken comes in a large box, separated into 4 -10 lb bags.  The breasts are connected.  I quickly trim them and put 2 breasts per bag.  Each breast half weighs, on average, about a lb.

I want to warn you about reading labels.  I had bought some ground turkey, thinking, it must be better for me than ground beef.  After reading the labels, I found that the turkey have more calories and fat per serving than the 93/7 Zaycon Ground Beef.  I did find some 99% fat free ground turkey.  It's a bit expensive, $5.99/lb, but it works really well on salads.  I put about 4 ounces on a salad so it lasts 4 days.

For Father's Day, we went and hung out with my Dad at the river.  It was such a gorgeous day.  We had a BBQ and I brought this really yummy dessert.  I had frozen a bunch of strawberries after we got a flat earlier in the month.  I took 4 cups of those and put them in a greased 10x13 cake pan.  Then I sprinkled a box of yellow cake mix over the top of them.  After that, I shredded a frozen stick of butter over the entire thing.  I put it in the oven for 15 minutes at 350, then took it out and made sure all the cake mix was moist.  I baked it for another 30 minutes and it came out golden brown and delicious.  For 8 servings, its 428 calories each.

A few Fridays back, I woke up with a killer headache so I decided to stay home from work.  I got up early anyway and cleaned the house up.  Around 11, Roger texted me and suggested I take my Suburban in to Les Schwab to have it checked out.  After 2 hours, and a walk over to Fred Meyer, The conclusion was that I needed a new front hub and my tires were separating.  The tires are under warranty at Wal-Mart so my next trip was to them.  I dropped off my vehicle and walked around the store for an hour before I went back to the Tire Lube Express.  The guy came out and told me he couldn't find any leak in my tires.  Well, that wasn't why I brought it in so I sent him back to check out the real problem I brought it in for.  Turns out my tires were out of balance.  They fixed it, at no cost but I was there for 2 hours.  So my final stop for the day was to our friend Al's Auto.  He quickly changed my hub and did an oil change.  I was so grateful not to have to sit around much longer.  He had it all done in an hour.


Now that the long part of the story is over, I can tell you what I did wrong.  My first mistake was that I hadn't ate breakfast.  So I had a bag of popcorn at Les Schwab.  While at Fred Meyer, I grabbed 2 bags of chips.  I was tempted by the candy bars at the check out but I restrained.  If I had been smart, I would have just walked over to the Grocery section and grabbed something healthy, but I wasn't.  I ate one bag at Les Schwab and then didn't touch the other until I was at Al's, 3 hours later.  I also had a Diet Coke and a Diet Pepsi.  Again, I should have made smarter choices, but these things happen.  I guess my point is, don't let slip ups get you down.


I have been doing really well though.  I am eating good, sleeping better and feeling better.  I am able to do things at the gym that I wasn't able to do before.  My FitBit is awesome.  I find myself trying to beat my previous days or set a new record.  My cousin called me a few days ago to ask me how I had changed things and what I had done.  She needs to lower her blood sugars.  I explained what I had done but I told her, in the end, it's all a mind game.  And I am serious about that.  It's all in your head.  I have a constant inner dialogue about not eating a certain way, pushing 2 more minutes on the stationary bike, 3 more reps, or get off your butt and clean up from dinner.  Anyone who has tried to lose weight can tell you that once it clicked, it was easy.  You can think you are ready a million times but when you are truly ready, you will know it and feel it.

Monday, April 6, 2015

Repurposed Photo Frame Jewelry Hanger

Another easy project off my to do list and I made it all with stuff I had already at home.

About 7 years ago, we put our house on the market.  Our Realtor told us to unclutter and remove all personal photos.  We did and when our house didn't sell, we never put them back up.  Part of it was laziness and part of it was depression because we really wanted to move.  Well I finally got around to unpacking them and hanging most of them back up.  In the packing however, I had 2 frames that had broken glass.  I removed the glass and saved the frames to make this project.

Materials you will need are:
Frames
Scrapbook or wrapping paper
Scissors
Ink Pen
Tape
Lace

By the way, did you notice my repurposed old trunk coffee table?  We bought the trunk at a garage sale over 10 years ago.  It holds DVDs, VHS tapes and photos.  Roger bought a movers dolly at Harbor Freight and we placed the trunk on top.  Easy peasy and so useful.  I like it because I can move it easily and it has a cool story.

First step is to cut your paper and your lace.  I used a map scrapbook paper I had and cut out the west coast, since tat's where I am from.  I had an extra piece of lace from my Lace Painted Dining Table Project that I used.

I used the tape to hold the lace in place as I wrapped it around the scrapbook paper.  Then I just put them back in the frame.

For the earrings, I just hung them on the lace.  For the necklaces, Roger got me some S hooks at Wal-mart for 97 cents for 4.  I love the look of these and they dress up my bedroom nicely.

Sunday, March 15, 2015

March Goals - Week 2: Exercise

This week my focus will be on exercise.  Specifically my goal is to do 3 different work outs at least 3 days this week.  Last week I bought some resistance bands and a Biggest Loser Yoga DVD from Amazon so those will be two of the three.  The third I am thinking of simply taking a walk.  We have a gorgeous lake in the middle of town that has fantastic walking trails.  I have always been anxious about walking around the lake because it's out there in the open for all to see.

As confident as I am, I don't want someone to see me and laugh.  After I had my Gastric Bypass and lost 150 lbs, I felt so great about myself.  The problem was that out in public, people who didn't know me or my story, would make fun of me.  Cracking jokes, making comments, calling me names about my weight.  They didn't know I had just lost 1/3rd of myself.  It made me feel like wearing a t-shirt or carrying a sign around that said "I just lost 150 lbs, shut the fuck up".

That was 12 years ago.  I am much more secure in the person I am now but the pain and anxiety is still there.  It's the reason I stay home a lot more than I go out.  I only go places I am comfortable.  I missed out on going out with one of my best friends for his birthday because I couldn't stomach the thought of being in a packed club.  It is very rare for me to go to a new place without meticulously checking it out first.  If a new restaurant comes to town, I want to know what kind of tables and chairs they have.  These aren't things that thin people need to worry about.  These are reasons I am changing my life.

Did my first workout Tuesday night.  I chose to do the Full Body Resistance Band Workout - 20 Moves to Slim You Down & Tone You Up.  It is a 30 minute workout but I was only able to do 15 minutes.  It comes as no surprise that I am really out of shape.  The moves were simple enough though that I think I can slowly work my way up to the whole 30 minutes.  I like the resistance bands because as I move along and the workout gets easier for me, I can change out the band for the next strongest one and start the cycle again.

Wednesday my stomach was upset after lunch and then Thursday I had real trouble eating.  Nothing tasted good.  I brought Overnight Oats, a salad and leftover roasted veggies from last night's dinner but I couldn't get more than a few bites down.  My stomach hurt and I felt nauseous.  I left work about 1 and went straight home to bed.  I slept until around 7:30 and then went back to bed around 10.  I thought it was maybe something bad I had eaten but when it persisted through Friday I got a little more concerned.  Here it is Sunday and I am still in pain when I eat or move around too much.

That being said, I did not complete my goal for this week.  I just felt so crappy after doing just my regular house work that I couldn't work out.  I was not lazy though.  What I did was work on cleaning for as long as I could stomach, then sit until my stomach calmed down.  Then back I was cleaning or doing one of the many projects I have completed in the last week.  I will be sharing some of them with you but the biggest one, that I won't be sharing, is my nephew Landon's Quiet Book.  If you don't know what that is, check out the one I made for Logan here.

So for week 3 of March, I am going to continue with the pursuit of fitness.  I will hopefully be able to get into the doctor on Monday to see what is going on with my stomach.  On a bright note, I lost another 4.5 lbs so I am down a total of 34.5 lbs.

Monday, January 26, 2015

Caramel Apple Cupcakes

Recently I was asked to make some cupcakes for my cousin Monica's Baby Shower.  I asked her what flavors she wanted and she told me to just choose.  Her only stipulation was that they had to have Teal and Purple frosting.  I racked my brain for a while, pinning multiple ideas.  Finally, the day before, I decided I didn't want to have to go to the store again so I looked in my cupboards and inspiration hit.


Caramel Apple Cupcakes
1 box Yellow Cake Mix
1 1/4 cups Unsweetened Apple Sauce
2 Apples, chopped
1 cup water
1 jar of Caramel Ice Cream Topping
1 batch of the frosting of your choice (or can, like I did)
Mix the Cake Mix, Applesauce, chopped Apples and water together until combined.  Portion out into cupcake liners and bake at 350 for 25 minutes or until a toothpick comes out clean.  Let them cool, remove them from the pan and continue to cool them overnight or just a few hours.  Next, drizzle or spoon about a tablespoon of Caramel Sauce on each cupcake.  These cupcakes don't rise very much so you can fill them a little fuller, however, you want to leave space at the top for the Caramel Sauce.  Finally, frost and decorate as you wish.

Everyone really liked these cupcakes.  I think they were best ate with a fork though.


Monday, January 7, 2013

Comfort Food: Vegetable Soup

I love soup.  It is so comforting and with the weather we have been having, it warms you up from the inside.  A few years ago, I found a recipe for Vegetable Barley Soup and I just loved it.  It has such a unique flavor and I really think you will enjoy it.

Vegetable Barley Soup
adapted from Beaker's Vegetable Barley Soup

2 quarts vegetable broth
1 cup uncooked pearl barley
2 large carrots
2 stalks celery
1 can diced tomatoes with juice
1 can garbanzo beans, drained
1 onion
1 teaspoon salt
1/2 teaspoon black pepper
1 teaspoon curry powder
1 teaspoon Worcestershire sauce

Pour all ingredients into a large pot.  Bring to a boil, then cover and simmer for 90 minutes.  It will be quite thick.

Monday, December 17, 2012

Baking Bonanza

Every year around Christmas, my Mom, sisters Kari and Brenda and I like to get together and have a Girl's Baking day.  This last Sunday we did just that and invited our friend Shamara over to help.  My Grandma even stopped by for a bit.  It was a such a fun day and we got through 10 recipes in just a few hours.  It took some planning but it all worked out.

We made two flavors of Fudge.  The first is a traditional chocolate and the second is a peppermint.  We followed this recipe from Nestle for both except in the peppermint one, we substituted mint chips and peppermint extract.
We also made Magic Bars using the recipe on the back of the Eagle Brand Sweetened Condensed Milk.
My favorites were these Holly Crackles.
These are my husband's favorite.  Peanut Butter Cup Cookies.
These Oreo Pudding Chocolate Chip Cookies sound strange but they are so delicious.
We had to make another batch of these awesome Rolo Turtles.
These Haystack cookies were requested by my sister Brenda.  The recipe is super simple.  Just melt 3/4 cup peanut butter and one bag of chocolate or butterscotch chips in a saucepan.  When melted, add a 10 oz bag of chow mein noodles.  Stir until full coated and then drop by spoonfuls onto parchment paper.  Let set up for at least an hour and then enjoy the crunchy goodness.
Finally, a family favorite, Cowboy Cookies.  I will share the recipe for these at a later time.  They come from a cookbook my Mom helped put together when I was in 3rd or 4th grade at my Elementary school.  Lots of great memorable recipes in there.

Tuesday, December 11, 2012

Quick Christmas Craft Round-Up

To combat what was becoming a rather annoying Facebook game habit, I have taken up this blog. It gets me crafting and into the kitchen. It also keeps the guys at work happy when I bring in a baking project. This Christmas, I have been extra crafty and have been very "Pinspired". I thought I would share some of the crafts I have been doing these past few weeks.

These are gift tag/ornaments I made.  The Inspiration is here.

I loved how easy these recycled magazine bows were to make.  Inspiration here.

An adult size Tutu.  Inspiration here.

Something I put together and put up at work.  The guys love to come in and "Jingle My Bells".

When I first saw this, I knew I had to make it.

And finally, I made this garland but didn't take a photo of it so here is one of the snowmen.